Stationery
Adding Stationery to Rich Text E-Mail
This is an added feature to Outlook Express 5. If you've successfully completed the previous two instructionals, then you're going to find this amazingly easy to accomplish.
Stationery files for Outlook Express 5 are stored in a folder on your system. There are quite a few that come with the program, but after you learn to utilize this feature, you're apt to find yourself adding to the collection.
You can access and view them by using the Toolbar in the Outlook Express 5 program, OR by simply following this path to them: C:\Program Files\Common Files\Microsoft Shared\Stationery.
When you select "Stationery" from the Format button on the New Message window, this folder opens by default. If you want to make any stationery you download readily available to you, simply save it to this folder.
There a few really good places to find wonderful stationery that is designed for Outlook Express 5, and we will provide links to them for you.
Well? Are you ready to get started? *S*
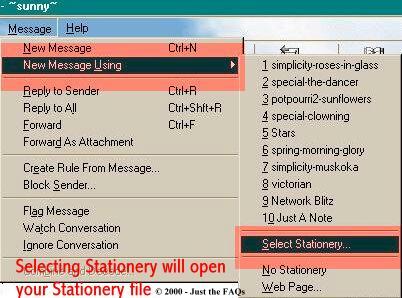
Open your Outlook Express 5 program. From the toolbar, select Message to get started.
illus. [1]
The next selection is "New Message Using". This will open the options window to select Stationery. Remember, this will open by default to your WINDOWS Stationery folder. You have to do nothing to find it, except select stationery.
illus. [2]
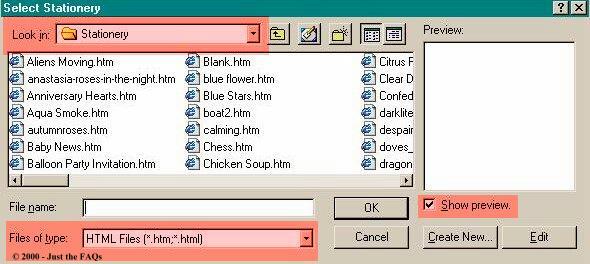
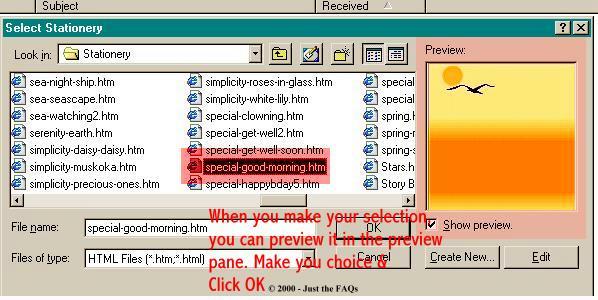
Once you make the choice of using Stationery, the window will open displaying the contents of your folder. Make sure that the "Show Preview" option is checked, and when you single click an item, you'll be able to see a preview of it in the window provided.
Also, notice that the file types displayed here are all .HTML/.HTM files. If you should choose to use an image other than a stationery file, you'll need to use the procedure that's covered in the First Tutorial.
illus. [3]
illus. [4]
Simply browse through these files, till you find the one you want to use, then double click it, and it will appear in the New Message you're composing. If you're not happy with it, just repeat this procedure.
Now then.....wasn't that simple????
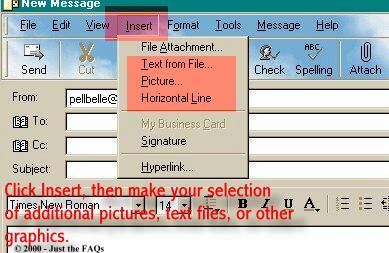
If you wish, you can still add images and sounds to the stationery you've chosen. Just follow the procedure for Adding Sounds in the second instructional.
You may also continue to add images and/or text files just as you did before.
illus. [5]
Introduction - Creative E-Mail
Part One - Create a Rich Text E-Mail
Part Two - Adding Sounds
Part Four - Creating your own Stationery
Part Five - Adding a Scroll Effect
© 2000 - Sunny's Stuff - All Rights Reserved
This tutorial and graphics may not be reproduced in part or whole without express permission of Sunny's StuffDISCLAIMER:
I do not claim ownership of the ideas presented here, but the composition of the words, the design of these pages, and the presentation of the material offered is mine.